Arrow Maze Design Case Study - Part 8 Return to Start

Welcome to Part 8 of our Arrow Maze Design Case study. We will look at the Return to Start block in this section It is a block that is terrible to land on because it requires you do do exactly what it says, return to the start block of the maze.

Here is an overview of what we will be covering in the 14 part series:

Arrow Maze Construction and Design:

Arrow Maze Components:

Extreme Arrow Maze examples:

Arrow Maze Design Case Study - Part 8 - Return to Start block

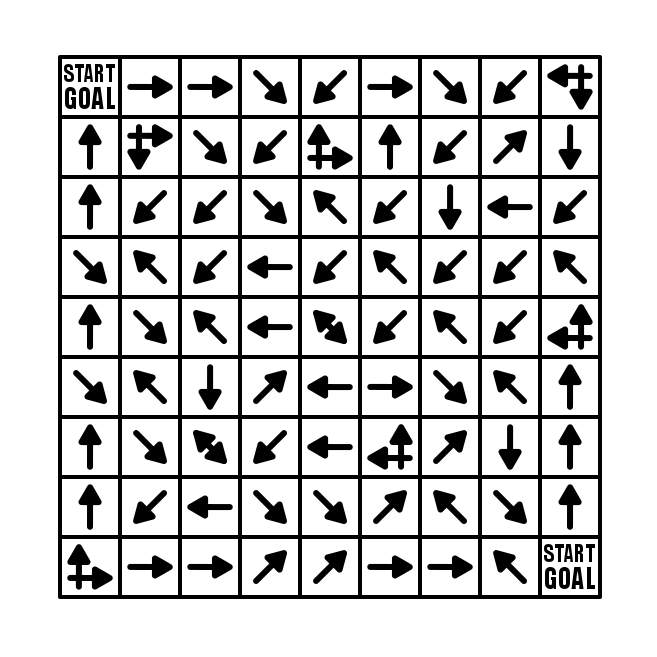
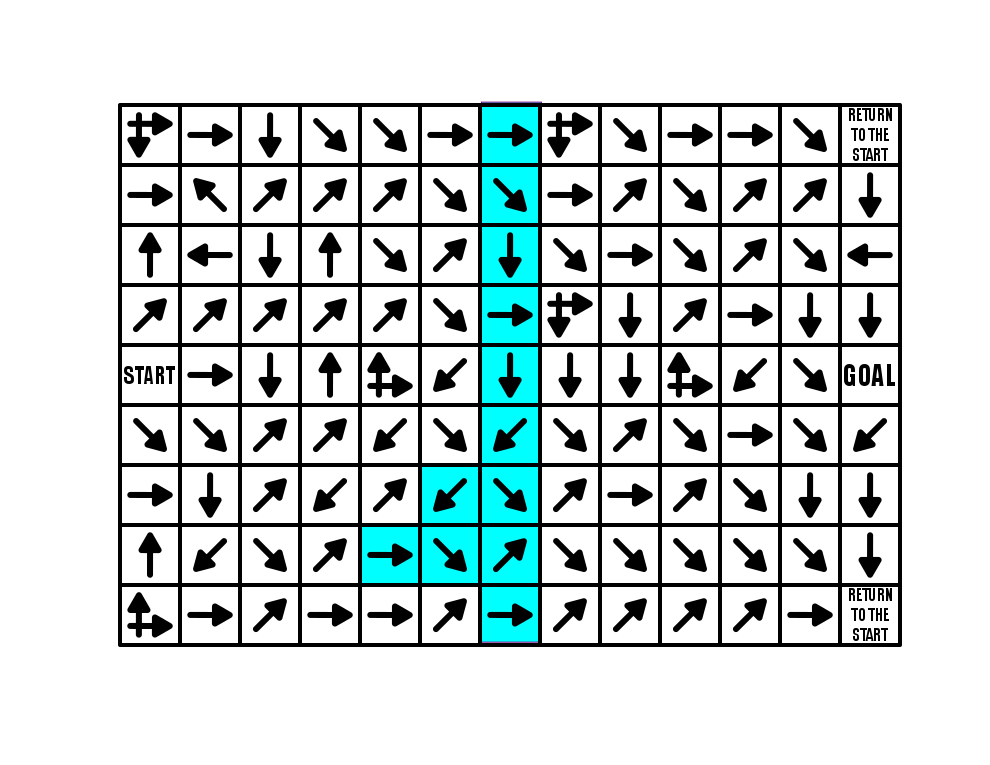
Again we will use a 9 x 13 landscape Arrow Maze, and add a few Return to Start blocks. While you can use as many of these blocks as you need…this example only uses 2. Take some time to solve the maze.

13x9 Arrow Maze

Return to START Maze

The use of this block gives the solver that feeling of dread. This is not a block you want to land on. For this maze I only used 2 and led all the incorrect pathways to those 2 points. One of the advantages of using this block is that as you design the maze you DO NOT NEED to leave a space for incorrect pathways to return to the start on their own. For this particular maze that means moving all pathways from left to right.

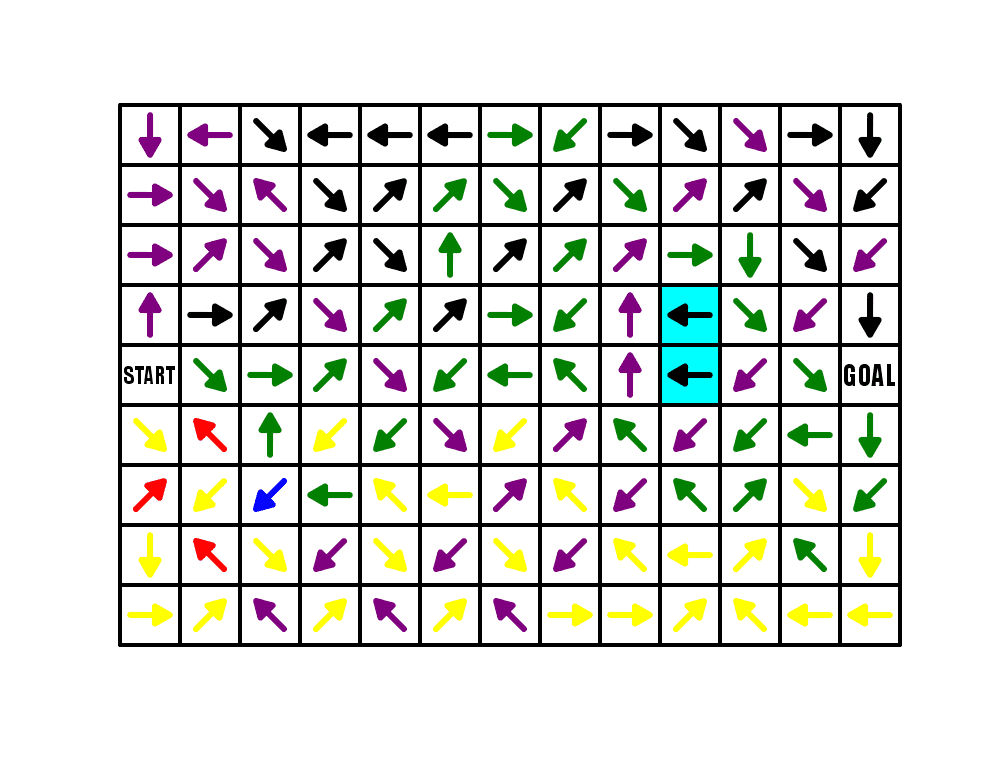
I highlighted the middle column of the maze to show this more clearly. Notice that ALL arrows in this column move to the right towards the GOAL of the maze…except ONE block that moves SE and returns back to the right just after…so really nothing is moving left back to the START.

13x9 Arrow Maze design explanation

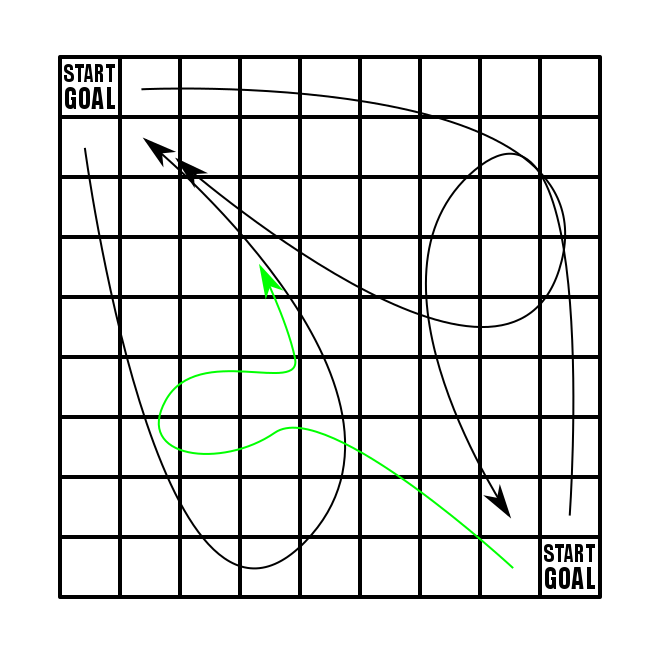
So what happens when you get AGGRESSIVE with the use of Return to Start blocks ? Well here is another example from my upcoming book (page 99 of 100). It uses only regular arrows and decision arrows but a TON of RTS blocks to drive the solver crazy. There are SO MANY wrong pathways that can be taken and all of them return you back to the start of the maze !

Arrow Maze #99 - VERY HARD !

Now that was intense and annoying.

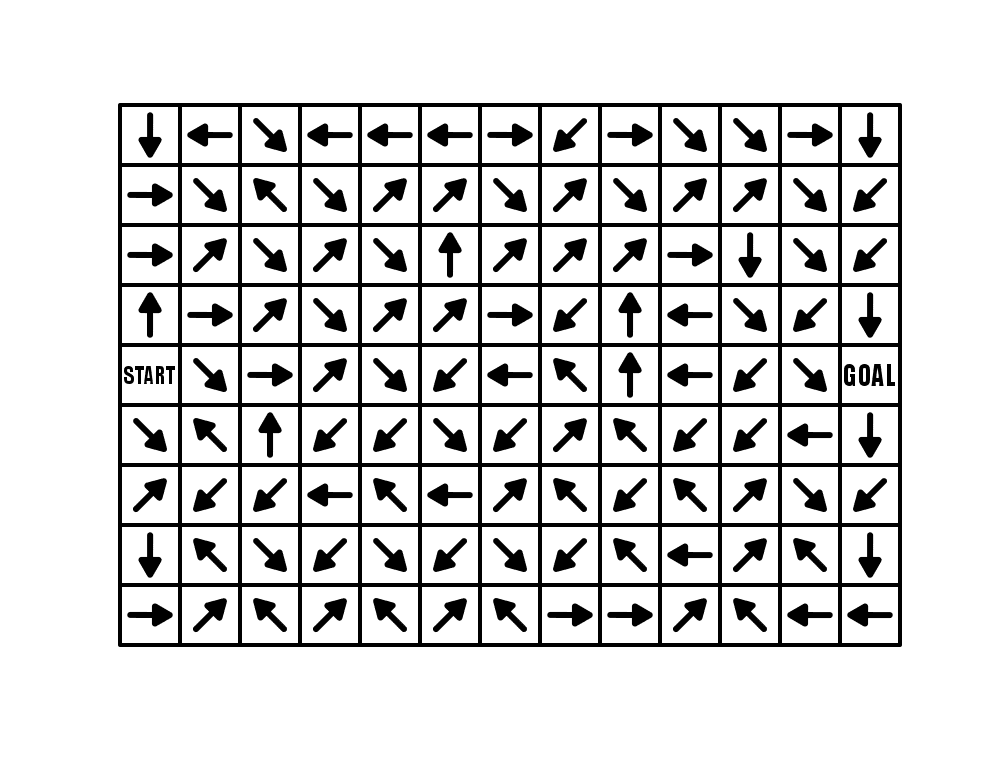
And although it should be obvious…a RETURN TO START block may not be used in an Arrow Maze with START GOAL blocks…because where do you go back to ?

In Part 9 we will deal with another block that moves you across the maze, the Warp Block !

Arrow Maze Design Case Study - Part 7 START / GOAL

Welcome to Part 7 of our Arrow Maze Design Case study. We will look at the Start Goal block in this case study. It is a block that is a fun way to challenge the solver to determine where exactly they are going (and from where they are starting).

Here is an overview of what we will be covering in the 14 part series:

Arrow Maze Construction and Design:

Arrow Maze Components:

Extreme Arrow Maze examples:

Arrow Maze Design Case Study - Part 7 - Using the START GOAL

For this example I will use a 9x9 box Arrow Maze, and use 2 START GOAL blocks. If you are unfamiliar with this block it adds a new twist to solving the maze because the solver must determine which block is the START and which block is the GOAL. Incorrect pathways lead back to where they started from, with only one pathway leading between the 2 blocks. Try this small START GOAL Arrow Maze.

9x9 Arrow Maze with STARTGOAL

Arrow Maze

So how did you do ? Were you lucky enough to choose the right pathway initially ?

Because the S/G blocks are in the corners there are limited choices (to help you out a bit). The top left corner has 3 choices leading from the block while the bottom has 2 choices. 2 blocks are used, 1 for each corner S/G to bring pathways back to them.

From a construction standpoint this means that both incorrect pathways and the eventual correct answer will share a few steps along a pathway (usually at the end). Essentially a bunch of paths lead back to the start, while one pathway connects to one of the wrong pathways from the other side to create a solution. Hopefully this simple diagram shows what happens…with the green pathway becoming the answer.

Arrow Maze STARTGOAL explanation

One major consideration when using START GOAL blocks is that you are forced to create many pathways and they take up a lot of room in the maze. If you branch the pathways out with a lot of intersections you will create a lot of pathways to eventually close. So, using S/G blocks is best done for larger mazes.

My next example uses 2 S/G blocks very close to each other and a total of only 4 outgoing pathways from each. Should be easy, right ? Give it a try.

Arrow Maze #60

If you want to add complexity, consider a START GOAL block. I find them to be a lot of fun as a solver !

Coming next in Part 8, the completely maddening RETURN TO START block !

Arrow Maze Design Case Study - Part 6 - Double Arrows

Welcome to Part 6 of our Arrow Maze Design Case study. We will look at the Double Arrow today, The double arrow makes the solver jump over the block next to it in the direction the arrow is pointed (or over a gap in the maze). It adds an interesting element and enjoyment for the solver to the maze and complicates the solving of the maze.

Here is an overview of what we will be covering in the 14 part series:

Arrow Maze Construction and Design:

Arrow Maze Components:

Extreme Arrow Maze examples:

Arrow Maze Design Case Study - Part 6 - Double Arrows

To review what a double arrow is, it is an arrow that jumps you over the block or gap in the direction the double arrow is pointed. For my first example I will use a 9 x 13 landscape Arrow Maze, with this iteration using mostly Double arrows. Take some time to solve the maze and see how you like it.

Arrow Maze full of double arrows

Double Arrow Maze

For me this is a fun solve, how about you ? I find it is easy to get lost and make a misstep when executing a correct solve. Notice that because of the use of the double arrow to return to START, while our regular arrow maze example in Part 5 had 4 possible starting pathways, this allows 5 starting pathways…so you get a 20% chance of solving this correctly by guessing.

One thing about this maze, is that because of the double arrows alignment it is very difficult (almost impossible) to use ONLY double arrows to make a complete maze. To make this maze more complicated (and fun IMO) you could easily add some choice arrows throughout the maze.

Let’s look at this maze color-coded so we can see the design elements of the pathways:

Red is the correct pathway. Green, Blue and Yellow are incorrect pathways, with Purple a short “filler” incorrect pathway. All black arrows are filler (which could have easily been used with a pathway if I had used some choice arrows). Even with the pathways color coded, the pathways can be difficult to follow (at least compared to color-coded regular arrow pathways).

Arrow Maze double arrows solution map

We will come back to this arrow construction in future case studies because it is so versatile. To really take advantage of this arrow I like to use it to jump across spaces. Below is an Arrow Maze from my upcoming book (page 53 !) where I use the double arrow 4 times as an island block and 7 times to jump gaps that otherwise be uncrossable (including the dreaded go back to START).

Arrow Maze #53

The Double Arrow is a great block to use to get into and out of tight spaces and to cross over gaps in an arrow maze.

In Part 7 I will review the very Special START / GOAL block.

Arrow Maze Design Case Study - Part 5 - Regular Arrows

Welcome to our next section of topics, Arrow Maze Components. From Part 5 - Part 12 I will look at specific types on blocks that can be used in an Arrow Maze. In this post I start with the most basic arrow, simply called the Regular Arrow.

Here is an overview of what we will be covering in the 14 part series:

Arrow Maze Construction and Design:

Arrow Maze Components:

Extreme Arrow Maze examples:

Arrow Maze Design Case Study - Part 5 - Regular Arrows

The core and most basic element of an arrow maze is the basic arrow, In fact, a beginner Arrow maze can be made using ONLY regular arrows. Let’s look at an example. Here is a 9 x 13 landscape Arrow Maze using only regular arrows. Go ahead and take some time to solve it.

Arrow Maze full of only regular arrows

Regular Arrow Maze

How was the experience ? If you chose the right path from the START it was a quick solve. If you did not chose correctly you eventually found this out when you returned to START after moving around the maze,

A maze with this design (regular arrows with no choices) is virtually the same in structure as a line leads maze popular in kids activity books. Let’s look at one of my Line Leads Mazes:

Line Leads Maze find the grasshopper

In both, you make an initial choice of paths, then follow it to see if you are correct. The incorrect Arrow pathways bring you back to START while the Line Leads Maze takes you back to another incorrect possible pathway. Otherwise these are very similar.

Let’s focus in on the START in our example. Highlighted in light blue, there are 4 possible pathways you may move to and one return pathway (which technically can be chosen but will immediately return you back to start). Your chance of choosing the correct path is 25%.

Arrow Maze Start explanation example

From a design standpoint you might be asking, wait, if there are 4 pathways out and only 1 is correct, leaving 3 incorrect pathways, how is there only 1 pathway back to the start ? Well, all of those incorrect pathways meet in 2 spots to form one incorrect pathway back to START. Again the highlighted section shows what we are speaking about. Incorrect pathways Yellow and Green combine at the Blue arrow which then combines with the 3rd incorrect pathway of Purple at the first Red arrow. The last 3 red arrows represent all 3 pathways (Yellow, Green, Purple) moving back to the START.

Arrow Maze incorrect paths design explanation

And finally, let’s look at each pathway to break down what happened in this maze. Purple, Green, and Yellow are the full false pathways (combining still to red in the end). Black arrows are the correct pathway. Two highlighted black arrows are “filler” arrows that are not actually used in any solution !!!

Arrow Maze with all possible pathways shown

One last design technique you should be aware of when using regular arrows to design a maze. You may or may not have noticed that I usually use arrows at 45 degree angles (did you notice this before ?). I want to explain why this is the case. If you use arrows pointing in the standard NSEW directions, you will create pathways that CANNOT be crossed over. But using 45 degree angles will fix that. In the example below I have drawn one pathway using NSEW arrows and one with 45 degree arrows that travel essentially the same way. But if I continued to design each maze the NSEW version does not have much flexibility on where future pathways can go because the arrows have created a wall that cannot be crossed over.

Arrow Maze Design example - arrow directions

In Part 6 I will discuss the Double Arrow