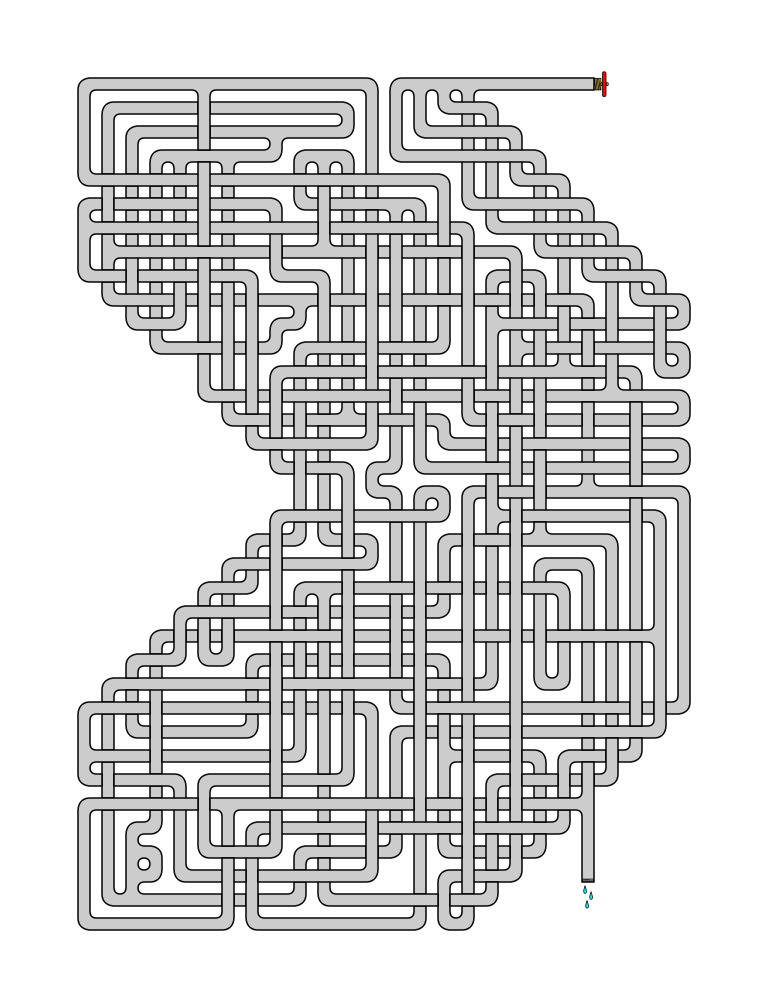
I have previously written about how to make a weaving maze, then I updated the how to with an improved method that included the addition of a guideline. Today I want to share a specific weaving maze update that focuses on the actual pathway design. I believe this method leads to better maze pathway design and gives the maze maker more control on the difficultly level of the maze. Here are the original posts along with a Pipes Maze how-to which is a themed variation of a weaving maze.
How to Make a Weaving Path Maze
How to Make a Weaving Path Maze - Improved Method
The example I am using comes from my work on an upcoming book and will most likely become my first book of Pipe Mazes, a follow-up to my Weaving Maze book available on Amazon. Each step will have an illustration. If you prefer, at the end of the post is a gallery where you can see all illustrations back to back and watch the maze be made !
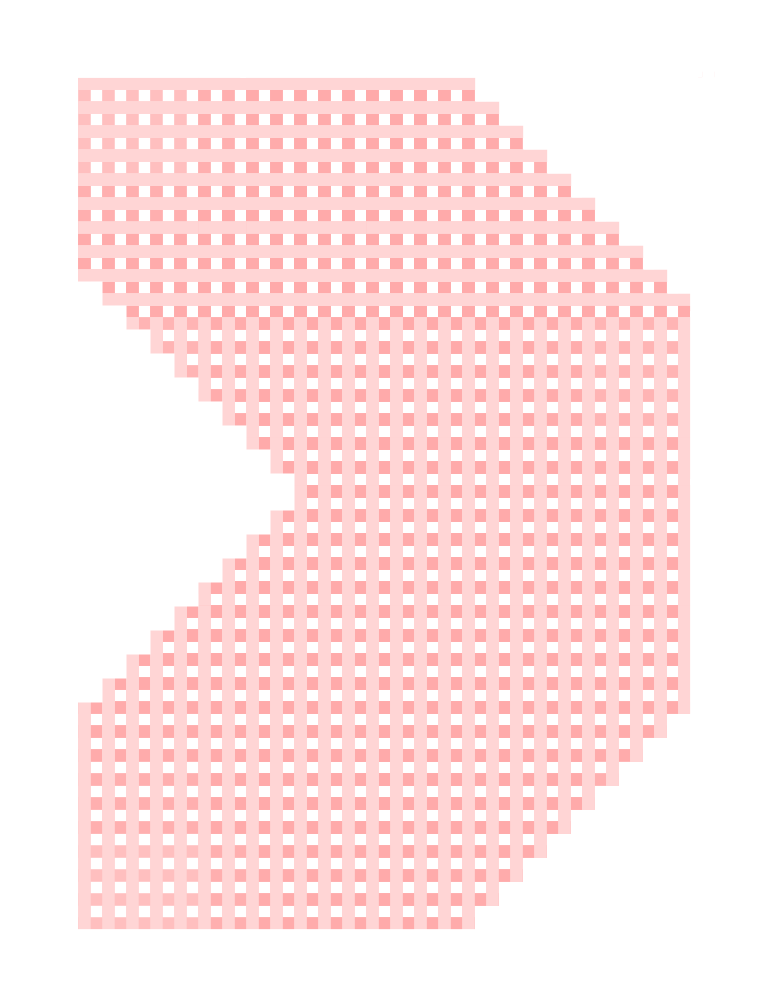
Step 1 - Create a Grid in the Shape You Want to Use
No changes here to the method. I chose a backwards c type shape.
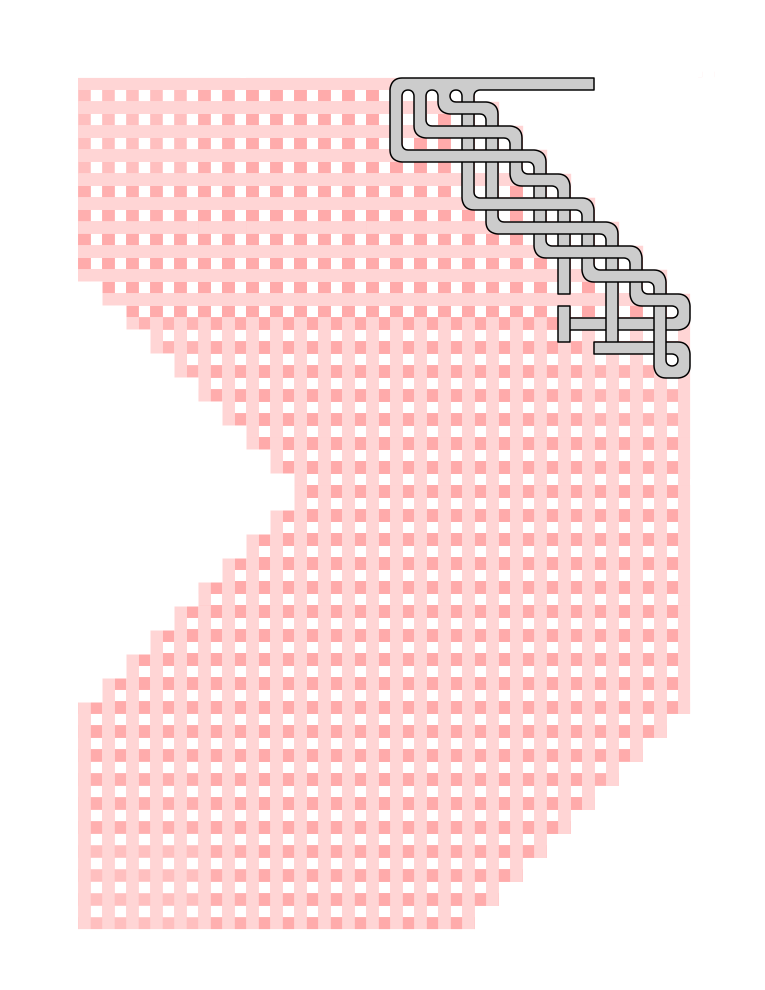
Step 2 - Begin drawing The Maze
My start breaks into 4 different pathways. Pretty normal. As with any maze, the more pathways that are possible the more difficult the maze will be.
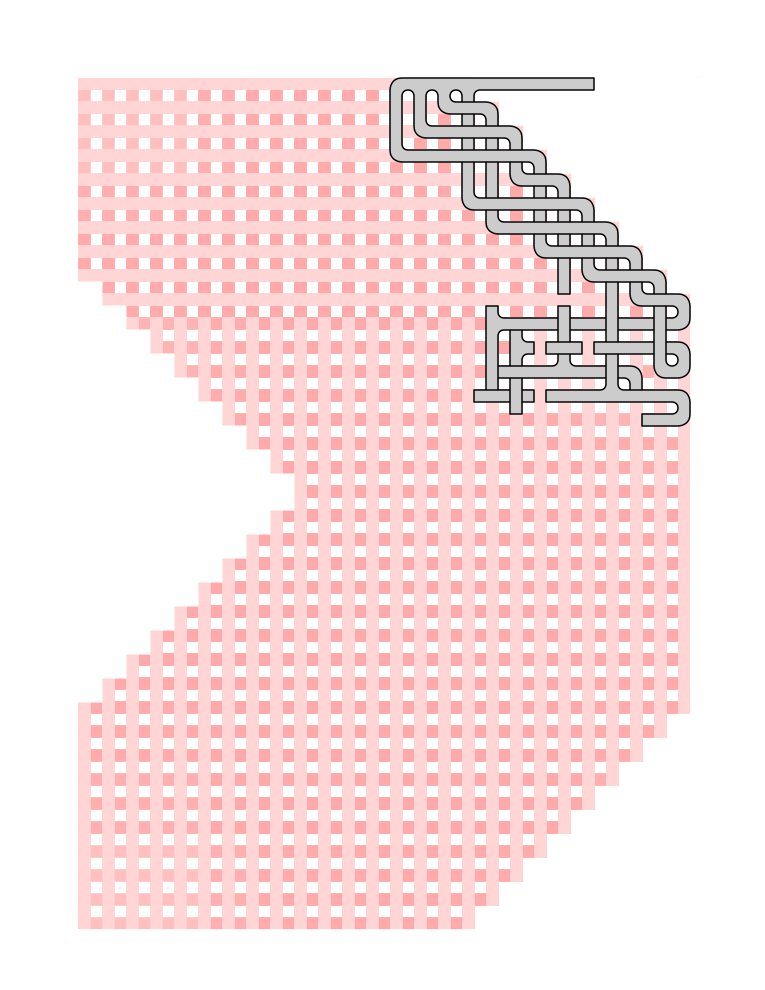
Step 3 - Break off each pathway into multiple sections
In my example I made it simple by breaking 4 pathways into 8 pathways branching each into 2 directions.
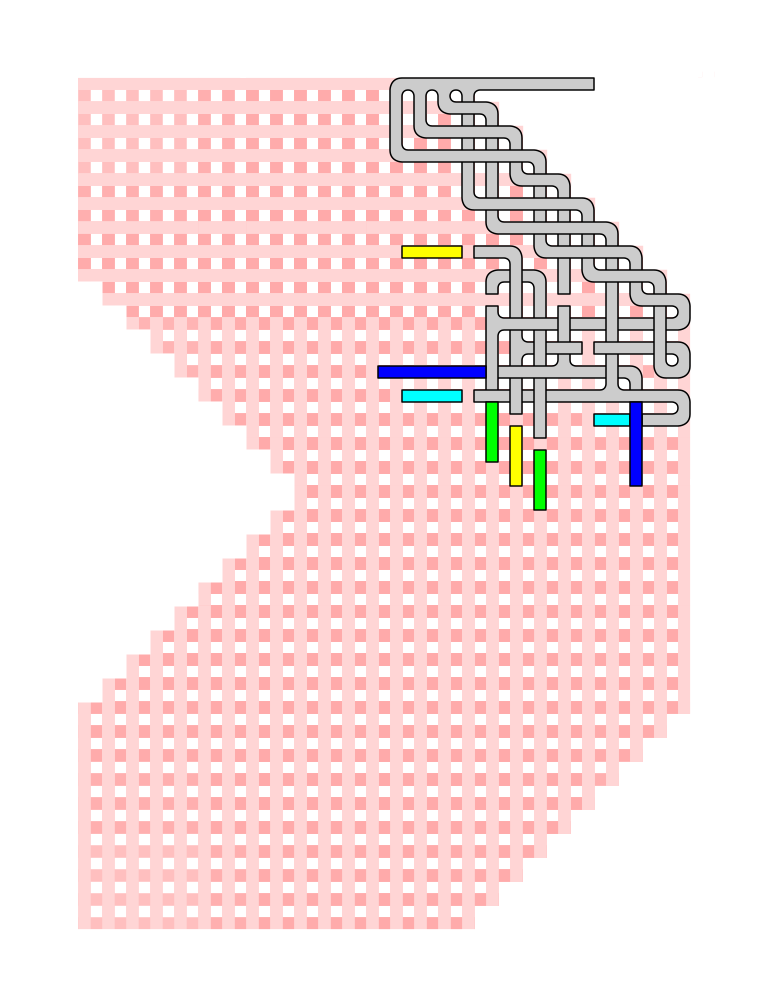
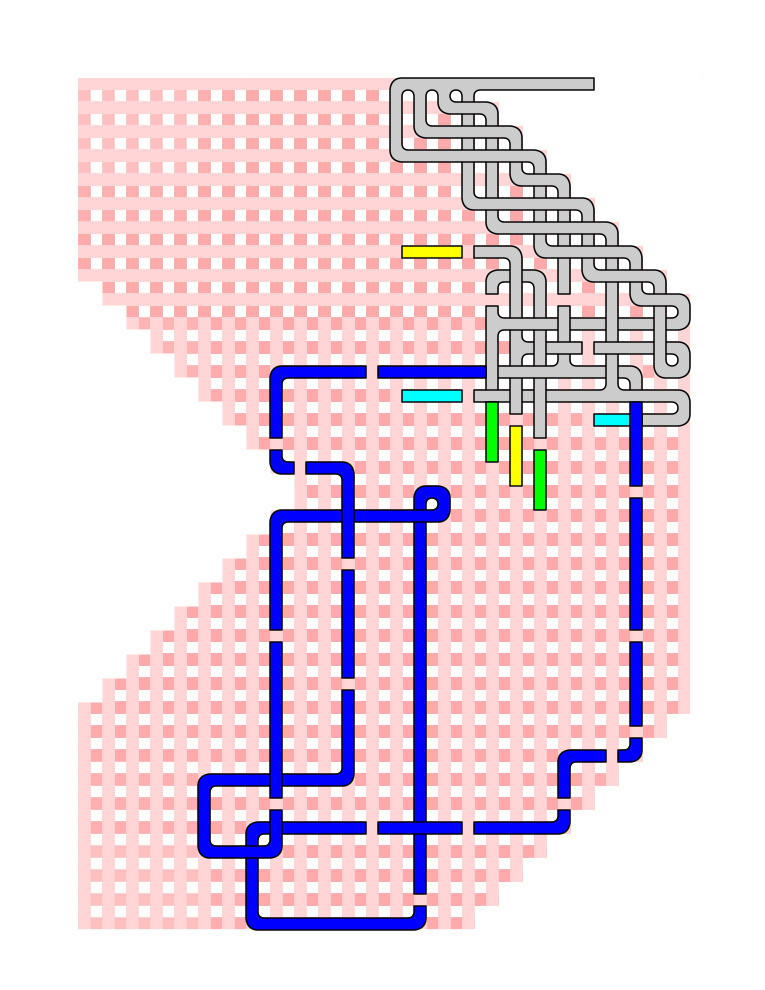
Step 4 - Color Code the Pathways
Here is the real new part of the method. Color code the paired branches so you can keep track of the solution/false pathways more easily. In my example I use 4 colors for the initial pathways as shown below.
The Theory - My weaving mazes do not have dead ends, rather loops that you need to backtrack out of. So, continue to design the maze as you normally would with one exception, when you end a pathway branch, it only ends by connecting with a like color branch. So, if a solver enters the green pathway, they are stuck in that pathway, looping around until they escape to another loop color. Of course one of the loops will contain the correct pathway. For this example 3 of the 4 colors get you stuck. The last color contains the correct pathway (but also some internal loops). Complicate the maze by creating more loops (possible pathways).
Let’s see this play out in this example. The following steps are what I took, but do not need to be followed strictly in any way, they merely break down the thought process I used when designing.
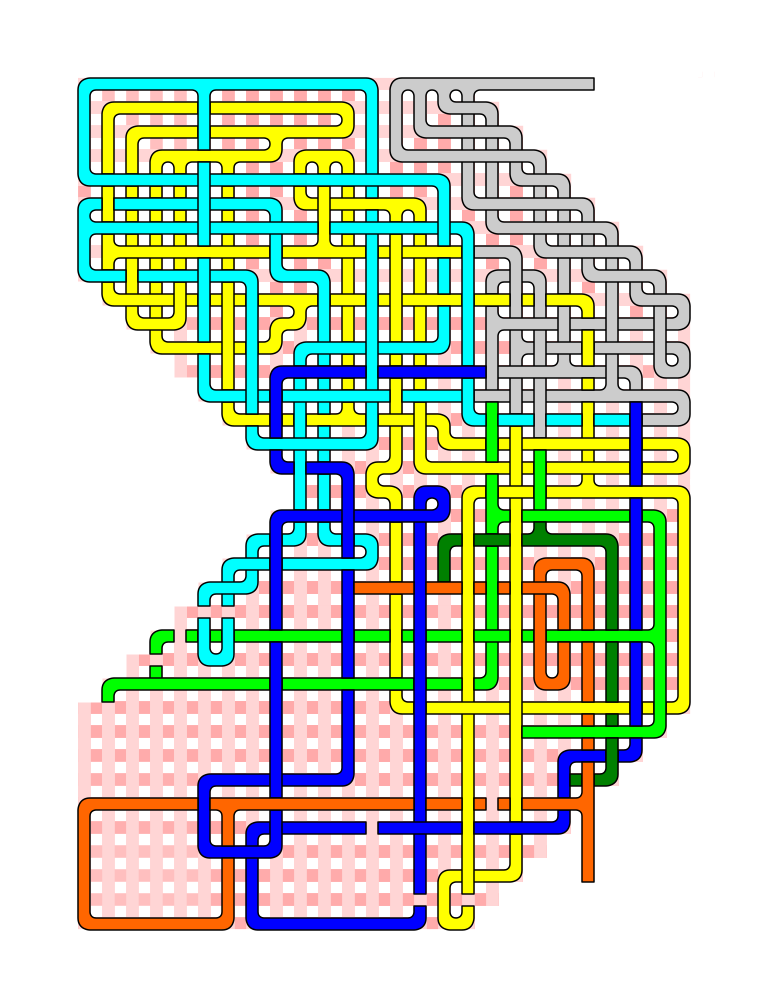
Step 5 - Complete the Blue Pathway
I made the blue pathway a long single loop. A solver will quickly realize that this is a bad direction and move to another option. I consider this an easy version of a bad pathway.
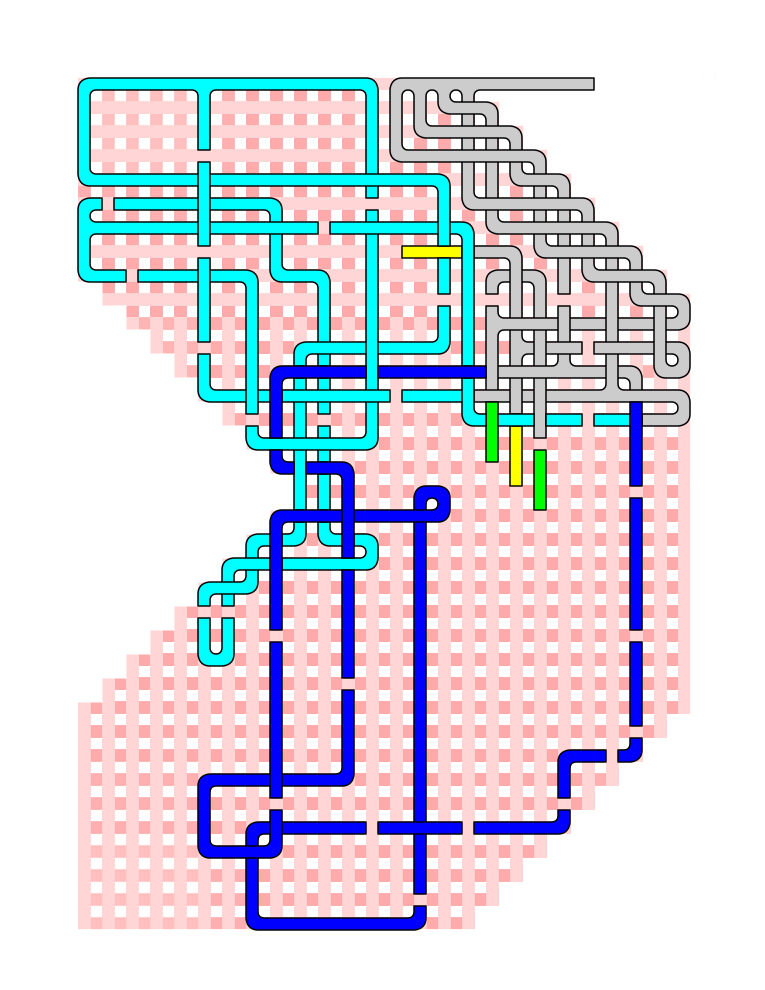
Step 6 - Complete the Aqua Pathway
Again, I decided to design a second bad pathway, but this branch includes some additional loops, so it will take the solver longer to determine they made a bad decision. However, I did this so there were only 4 pathways to take, so medium difficulty.
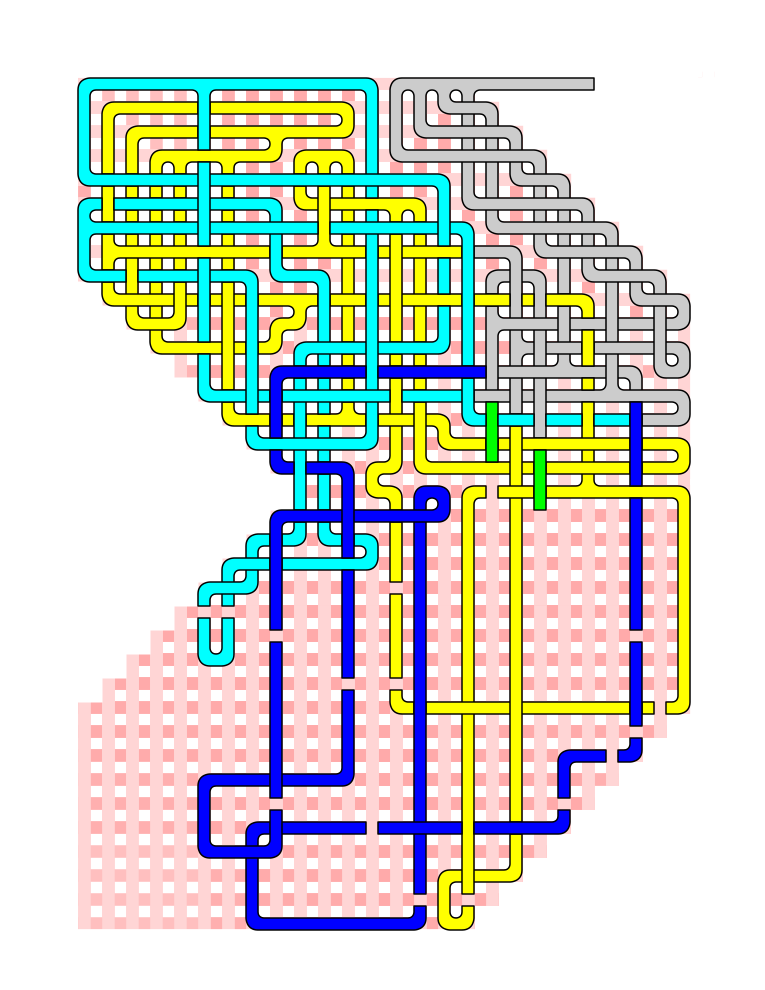
Step 7 - Complete the Yellow Pathway
So here I did the 3rd bad pathway, but made it very complicated. This is the pathway you do not want to take. It breaks into multiple pathways many times, all of which loop around on themselves. This is the difficult pathway.
Theory Break - From a design perspective I made each of the above pathways (each different color) a different difficulty level. Want to create an easier maze ? Use more Step 5 type blue pathways. Prefer a harder maze? Lots of Step 7 version pathways.
Step 8 - Refine your final color pathway
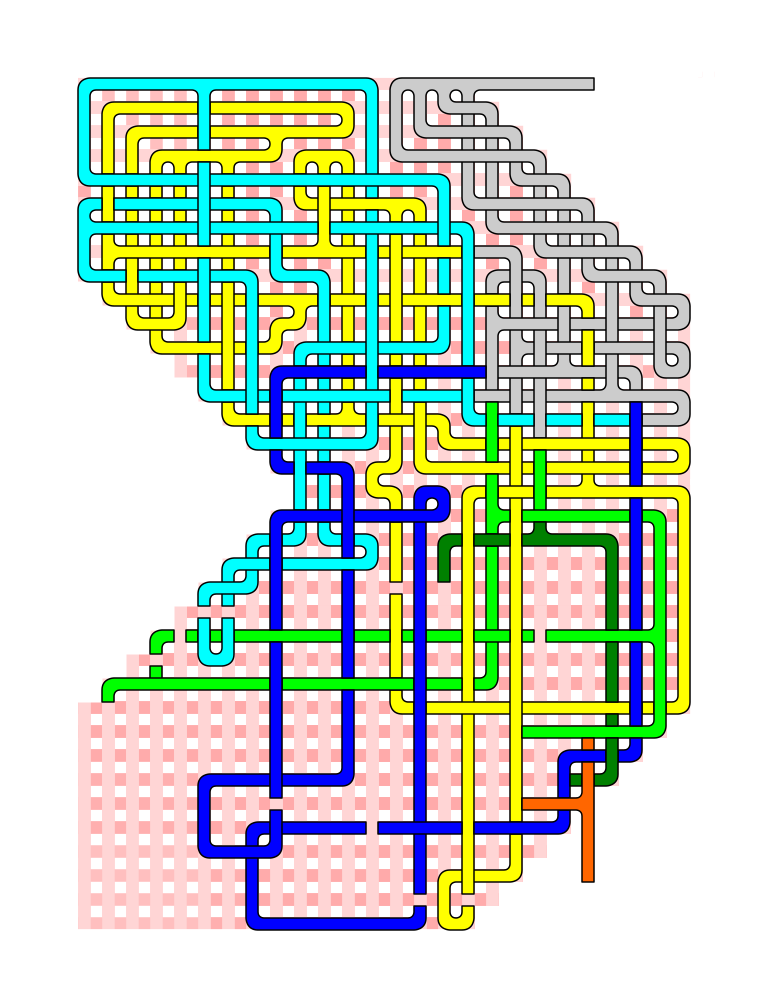
I now know the green pathways will contain the answer. I actually am not sure which one it will be until I get farther towards the end. So I break the green into 2 shades of green. Eventually one of these will lopp onto itself, while the other contains the solution.
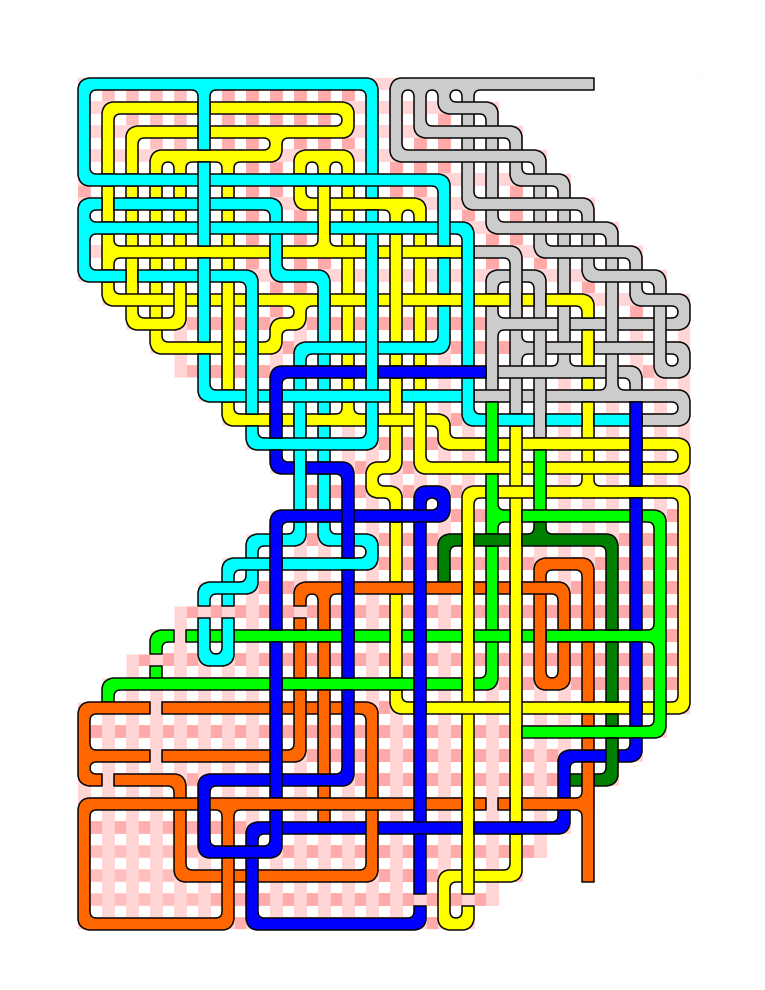
Step 9 - Create the Goal
I used the color orange to designate the goal. I have done this so I can create some wrong pathways for solvers who try to solve the maze by starting at the goal. By creating the goal now, I also can plan the maze pathways better.
Step 10 - Create Goal Loops
For those back solvers. Not necessary, but the more you make the more complicated the maze will become (for back solvers). You are taking up space that could be used in the other direction however.
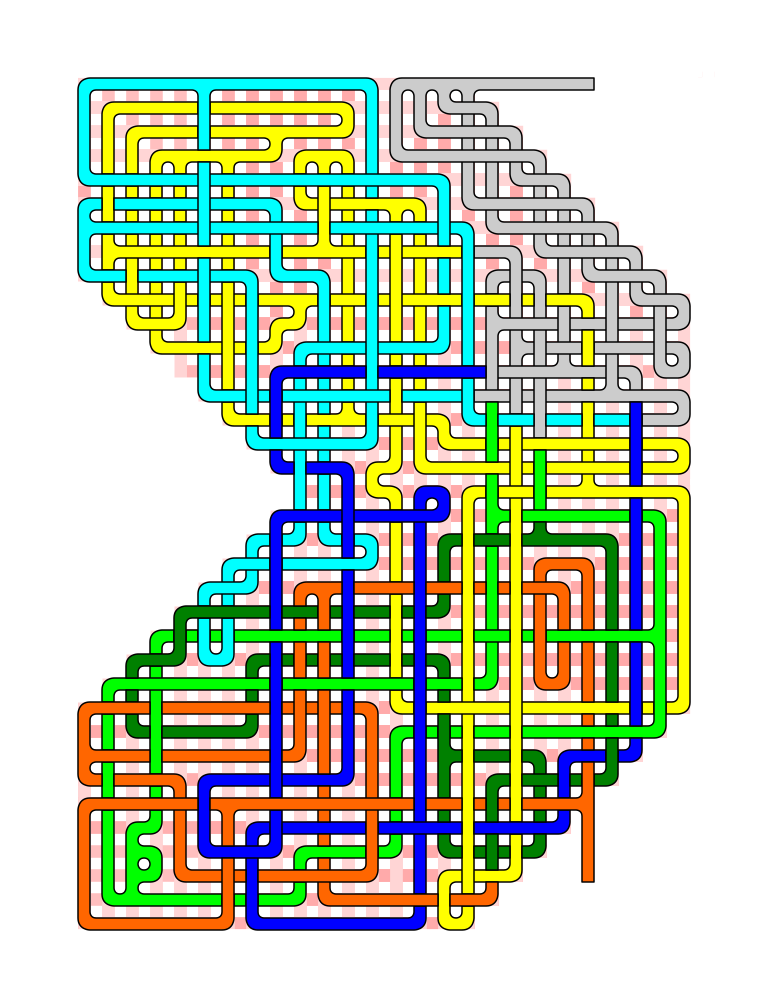
Step 11 - Continue creating the pathways
Step 12 - Finish the Maze
Eventually as the maze guide filled in I chose a dark green pathway to link to the orange path.
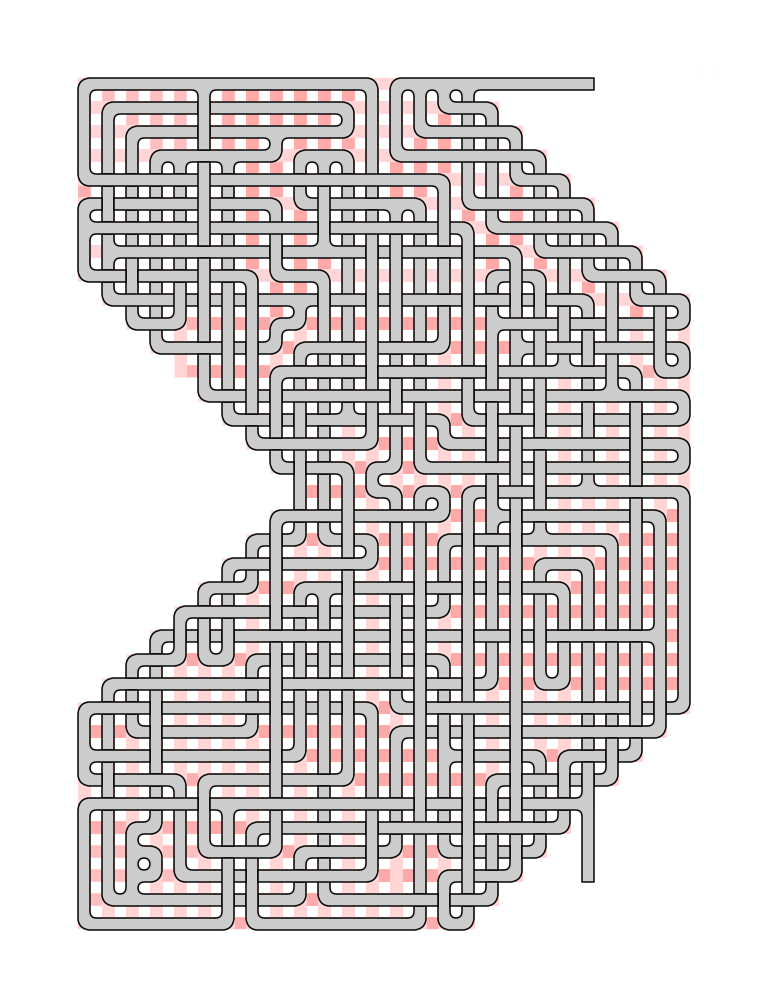
Step 13 - Recolor the pathways
Maze doesn’t look so easy now, does it ?
Step 14 - Make the Final Touches
Since I made this a Pipe Maze I add the details of the start and goal and also delete the guideline to create the final maze ! This is a good time to test the maze if you want also.
Summary:
Use colored pathways for your weaving pathways to control the difficulty of your mazes. Create false pathways emanating from the goal to further complicate your maze.
Full Build Gallery: click to watch the maze build
