Maze options - Maze Path options

Welcome to Part 2 of my 3 part series on maze construction options. Previously, I gave you step by step instructions to make 40 different maze constructions. But making a maze also means making a series of different decisions, each that will change the look and difficulty of the maze. If you missed Part 1, I suggest you start there !

Part 1 - Options for Starting and Ending a Maze

Part 2 - Maze Path options

Part 3 - Conditional Pathway options

Let’s get started with Part 2: Maze Path Options

In Part 1 you figured out how you will be starting and ending your maze. Today we will explore some options for how you make your pathways. Pathways are of course where the maze solver travels as they are moving thru the maze. We start with the most common:

1 - Walled pathway

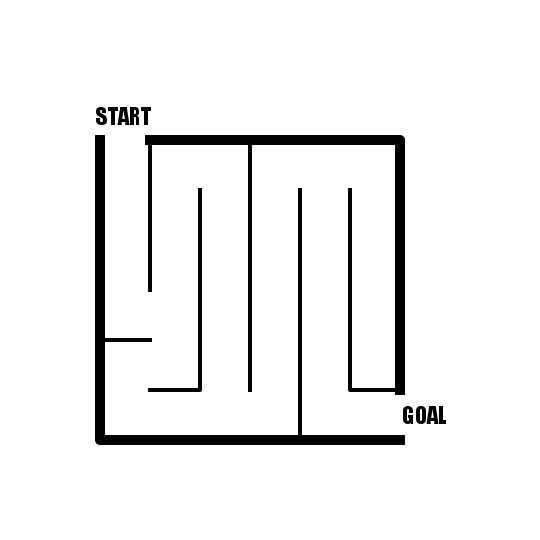
The most common pathway you will find. Self explanatory to anyone who has ever done a maze and most people that haven’t. The solver travels between walls made of lines. Here is what it looks like:

mini maze

2 - On Line Pathway

On line pathways are exactly as described - the solver travels on the lines and not in between them. This defines what an On Line Maze is, but can also used for Directional Mazes, which would have instructions such as - solve this maze by only turning left. Here is an example of an On Line Maze. If a solver is not paying attention, they may try to solve this maze as if it was using walls. If you use this construction I suggest adding directions explaining the “on-line” aspect.

On Line Maze Example

3 - Weaving Paths

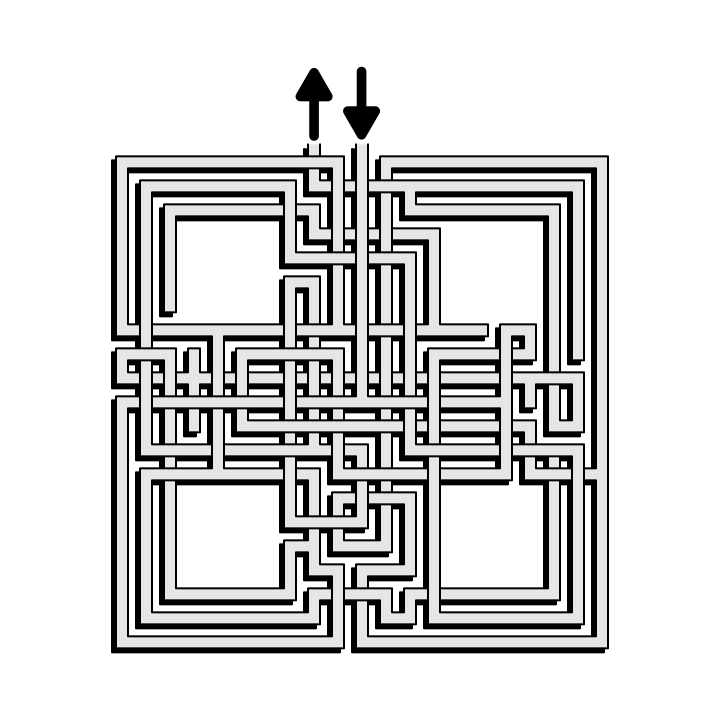
Weaving Paths are intertwined and allow the solver to travel over/under other paths within the maze. Some use shadows or arrows to better define the movement and enhance the look of the maze, but generally it looks like below:

Diamond Shaped Weaving Maze

4 - Themed Pathways

This category is a catch all for a variety of themed pathways you find and become common in children’s maze and activity books. Some examples of these include Railroad tracks, a Roadway, a Subway Line, Sidewalks, and Pipes. Really places where people would naturally travel, or in the case of Pipes, water would. Here is a pipe maze example (which happens to also be a weaving pathway). Notice that I used shadows to further define the weaving aspect.

Ohio shaped Pipe Maze

5 - Grid “Pathway”

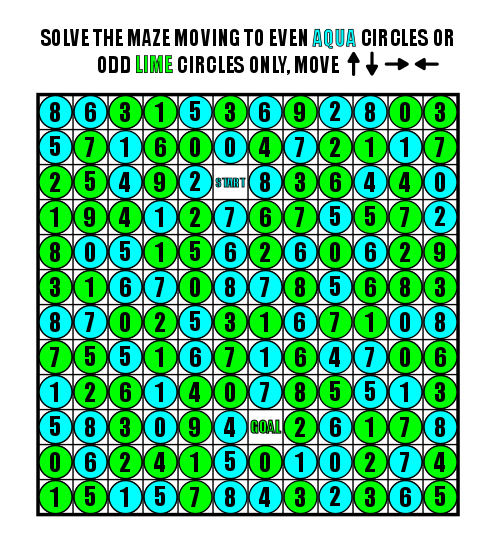
Grids can used for regular mazes, but are most commonly used in the different types of Puzzle Mazes. Puzzle Mazes, Block Move Mazes, Number Mazes, Letter Mazes, all use grids to give them structure. Below is a Standard Grid Maze and a Puzzle Maze to show 2 different variations of how grids can be used:

7x7 grid maze
12x12 puzzle maze

6 - Arrow Mazes

While Arrow Maze and Slide Arrow Mazes both use a grid for structure, the pathway you are following is actually determined by the arrow you land on and the direction you choose along the way. I consider this more about the arrows than the grids they are in. Here is an Arrow Maze as an example:

8x8 Easy Arrow Maze

7 - Free Drawn pathways

I say free drawn pathways, but really what you are drawing by hand are the walls. You get it. This encompasses all the variations that don’t quite fit into a perfect grid or grided path system. The distance between walls varies. Here is a crushed beer can (drawn digitally) with free drawn paths:

Crushed Beer Can Maze

8 - Background Picture

Mazes can have backgrounds, some of which have nothing to do with solving the maze. Think of making a maze over a picture of something. You could use the border as the Maze, but internally the picture only helps to decorate the pathways. Here is my maze from National Book day for example:

Book Cover Maze Example

9 - Objects as Walls/Paths

Similar to what I mentioned before above, this is really about creating pathways by what you use as walls. Using objects or words for the walls creates a very interesting path for the solver. I think they are fun to make and you can be very creative with it. Here are examples of pathways that were made using circles and many small boxes:

box maze full of balls
box maze full of boxes

10 - Patterned walls

Drawing a standard maze with straight lines as walls can get boring for both the mazer and the solver. This can be made more interesting by using a pattern that repeats for the walls. Like a simple back and forth, or a curve. Notice the example below how a simple maze transforms when drawn with standard walls versus with patterned walls. Very different looks for the same maze.

Example of a maze with patterned walls

11 - Colored Paths (walls)

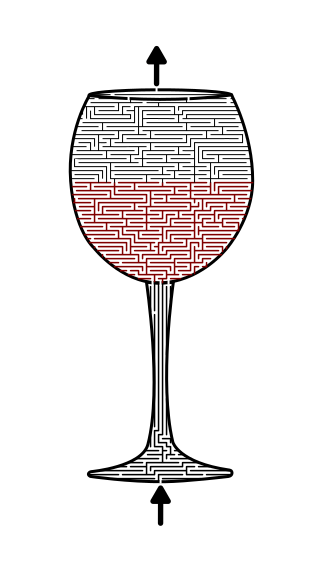
There is an option to enhance the maze you have made using colored walls to define sections. It is much more common to see color used as a background, but keeping this as an option can really enhance your maze making. The example shows a wine maze, specifically a red wine maze as defined by the colored walls ! You might want to read about a case study on colored pathways.

red wine maze

12 - Path Spacing

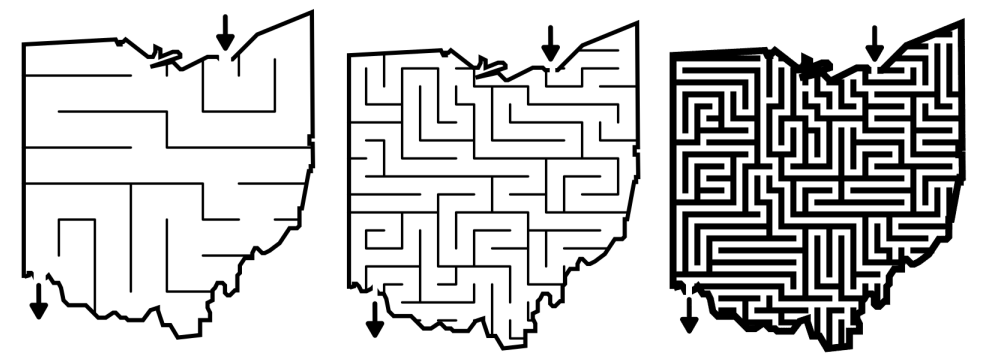
While most pathways you come across will be walled, there are different looks achieved ( and different maze types resulting from) based on how the same lines are spaced. In the examples below we have walled mazes used to maze the same object with 3 different looks. #1 is a Kids maze with highly spaced walls. #2 is a standard maze with normally spaced walls. #3 is a standard equal where the walls are pathways are of equal width.

3 mazes of Ohio with different maze path spacing

And while this is not the best example, below is a design that used different path widths for each different section of the object. I should mention that the background color is the same in every section. Notice how the bishop has a very dark colored head because of the closer pathways with a lighter core section. Line spacing is a great way to change the color and shading of an object you are mazing !

Chess Bishop Maze

13 - Use the Drawing as Walls (Natural shape of the subject)

When making maze art I find that the best looking mazes are ones where I don’t create any pathways, but where the pathways are naturally created by the object I am making a maze of. Typically this involves the draw and cut method of maze making where I draw something, then cut a maze into the structure. Almost every building maze on this site uses that method. In the example below of Museo Soumaya the panels of the building become the walls. Panels, bricks, windows, they all have become pathway makers for me !

Museo Soumya Maze in color

Maze options - Starting and Ending a Maze

There are many possible constructions of mazes you can make. I gave you step by step instructions to make 40 of them. But making a maze also means making a series of different decisions, each that will change the look and difficulty of the maze. Over the next few days I will explore the main Maze Options you need to make in a 3 Part series:

Part 1 - Starting and Ending a Maze

Part 2 - Maze Path options

Part 3 - Conditional Pathway options

Let’s get started with Part 1: Starting and Ending a Maze

A common question asked in search is “Do all mazes have a starting point ?” Yes - all mazes have a starting point. But things can get interesting (see #5 below) if there are multiple starting points !

10 MOST COMMON WAYS TO START AND END A DRAWN MAZE

Starting a maze means you have options on well…starting the maze. Let’s get the most common and simple Start out of the way first:

1 - A Start Arrow at the Maze Border (with an End Arrow at the goal)

Probably the most common start you will find. Self explanatory to anyone who has ever done a maze and most people that haven’t. Same for the goal. This start/goal option also has a big advantage from using the arrow symbol vs. any option using words - there is not translation needed ! The example maze below would work in any country ! Here is what it looks like:

Small maze with Arrows at the border

2 - The Word START at the border / GOAL at the end

Well maybe the Start arrow isn’t enough….Using the word START to start a maze makes sense and you will most commonly find it used on a maze created for kids. GOAL work the same way. Here is what it looks like:

Small maze with words as start and goal

3 - The Words START and GOAL internally

Moving the words internally gives you some freedom in the border and drawing of your maze, especially if you are making maze art. This also gives you flexibility to not use the borders/corners as the start and goal, but anywhere within the maze. This example is NOT maze art obviously:

Small maze with START and GOAL internal

4 - The Word START internally working to an external goal

Most commonly used for an Escape maze where the object is to escape the border of the maze from an internal Start. The Goal in this case can be anything, and the below example also is a preview of the next variation, unmarked Goal.

Small maze with START inside

5 - The Unmarked Goal / Start

Don’t say anything for the goal. Why would you want to do this ? Well one reason is because you want to challenge the solver with multiple possible exits. This is most common with an Escape Maze. Below is a multi exit Escape Maze. The solver must work to the outside of the maze to escape the object - - but where are they going to ?

Now take the example below and switch START to GOAL. We have an unmarked START and the solver must choose which pathway to begin with !

Patterned Escape Maze

6 - Object as Start/Goal

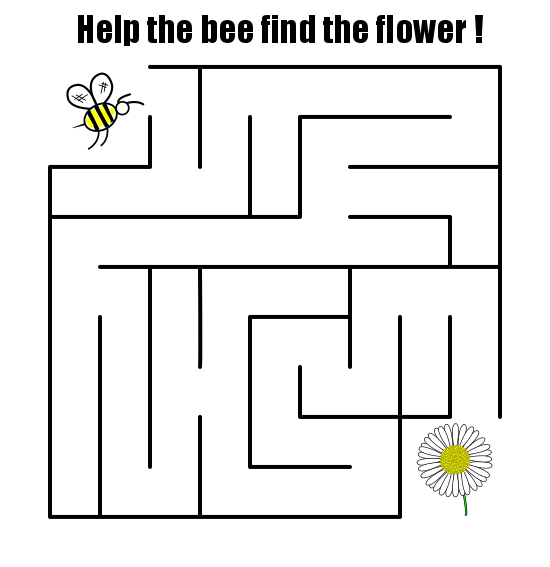
Common in Children’s mazes, but available for any maze is the maze that uses Objects for either the start or goal or both, like below. It is very common for these to be themed and to create a journey theme while solving the maze. Has a similar advantage as the use of arrows in #1 above in that it does not need to be translated (although my example does have writing, if it was gone or in another language the overall majority of solvers would need no explanation !)

Kids Maze - Help the Bee find the flower

7 - Start/Goal is the Same

One way to up the difficulty on a maze is to give it conditions like from the Start of the maze travel to an internal goal and then return back to Start (The Go and Return Maze) using a new path. Here is an example:

Triangle shaped go and return maze

8 - Dual Start/Goals (They are interchangeable)

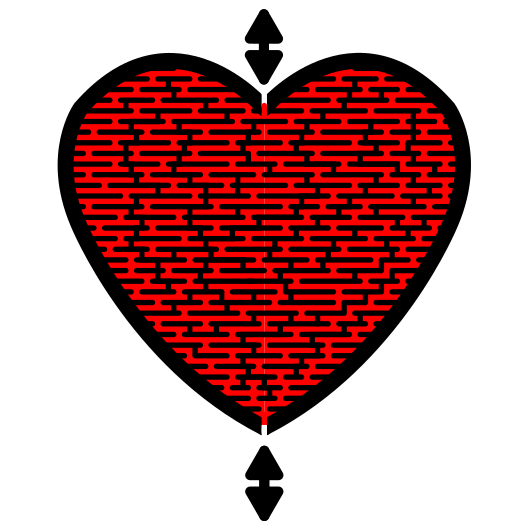
You can design a maze so it is difficult to solve in both directions. Typically a maze is designed in one direction (Start to Goal), but that doesn’t need to be the case. Below you can solve in either direction !

Red Heart shaped maze

9 - Undetermined Start/Goals

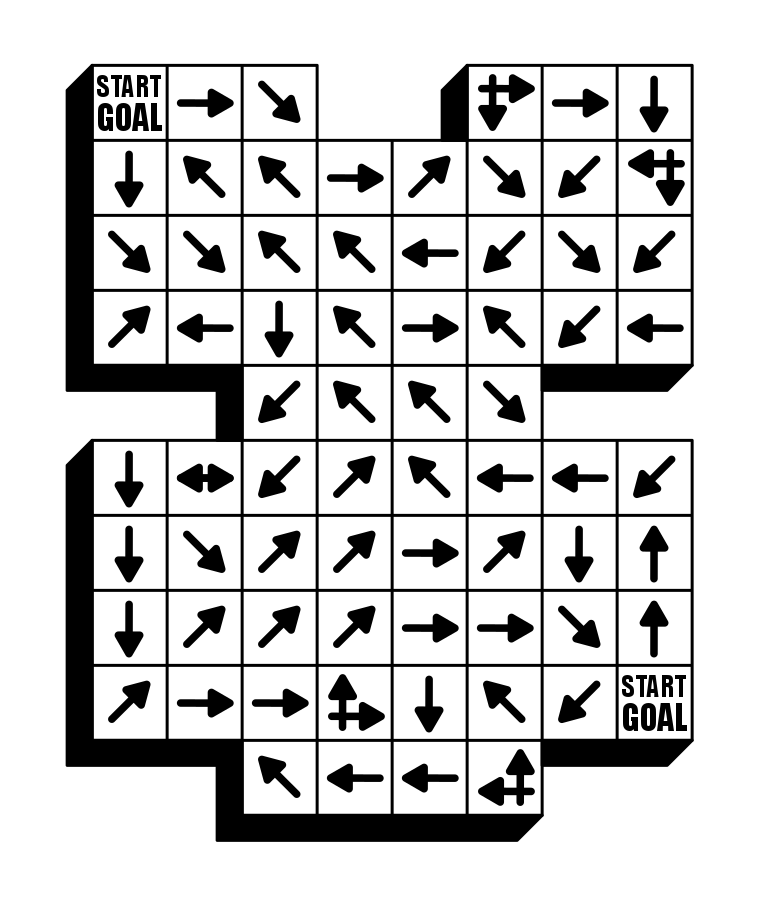
The start and goal are labeled but you are not sure which is each. This is a great way to add difficulty to an Arrow Maze, and unlike in a Dual Start/Goal above, there is only one correct Start and Goal but you are not told which is which ! I experimented with using question marks…a 10th option or just a variation of #8 and #9 ?

Arrow Maze #33

10 - Find the Correct Goal

This is best used in a weaving type maze. In my below example (it was rushed) you need to follow the ball through the pipes and determine what color bucket the ball ends in. Why might you use this ? Well, if you want to make it more difficult for the solver to reverse solve the maze. With 7 options below as a possible goal, they might think twice (note again I rushed this and the added incorrect pathways are not well done).

Pipe maze with multiple exits


Those are the 10 most common ways to start and end a maze. Maybe you can come up with a few others. Drop me note with your ideas !


Additional Posts on Maze making you may like:

What I use to make my mazes

Using Color for Maze Pathways - A Case Study

Maze Design Case Study - Designing a Grid Maze in Different Difficulty levels

Check out my YouTube channel to see maze art being made !

Can You Find the Maze Design Mistake ? Part 2

I love making weaving mazes, but they present some challenges for the maze designer in addition to the solver. So much that I made a full post of my mistakes to test your observation skills. Turns out, there are now enough mistakes for a Part 2 !!! Not sure if that should get any exclamation points, but here we are.

If you want to try making them yourself you can read how I make a Weaving Maze, or the revised, improved weaving maze option. And if you think you would enjoy real, correct weaving mazes to solve like the ones below you can check out multiple books on Amazon.

Let’s test your observation skills !

Here are the 2 main types of mistakes I made. A path that ends under another, or one that never comes out from under another.

Examples of mistakes you might find.

Examples of mistakes you might find.

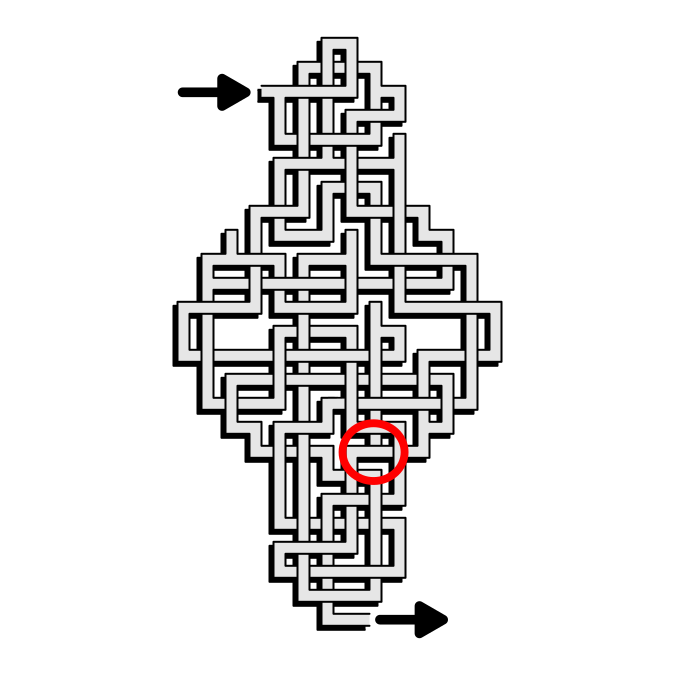
Let’s get started with our first maze which looks like a window. I like the design of the weaving maze but, it wouldn’t be here if there wasn’t a problem in the design. Can you find it ? When you are ready, scroll down to get the answer !

Observation Maze #1

Observation Maze #1

Scroll Down
Observation Maze #1 Answer.

Observation Maze #1 Answer.

For me, that was a tough one to find the mistake. If you found the design mistake, great job ! Let’s look at maze #2 and see how you do.

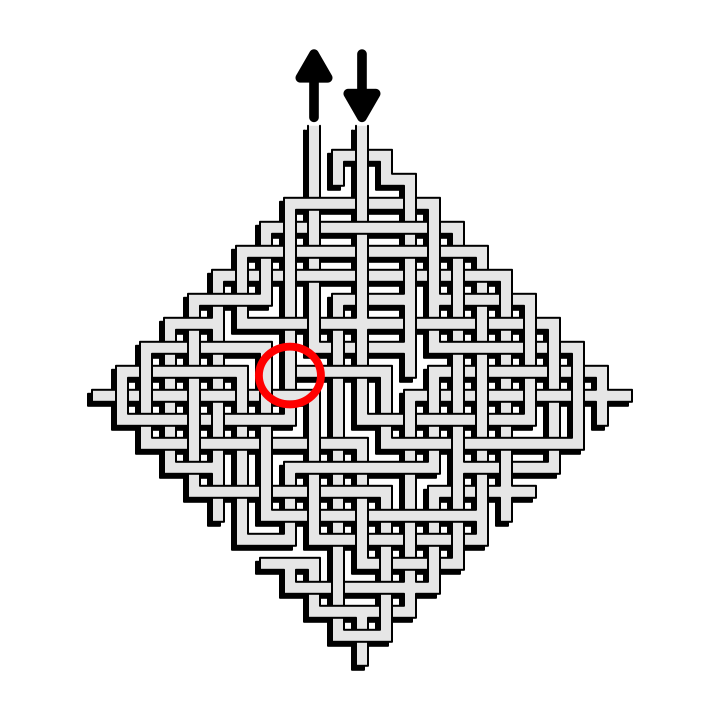
Maze #2 is the most popular shape I use. The shape is great for using for weaving mazes, but again I made a design mistake. Can you find it ? When you are ready, scroll down to get the answer !

Observation Maze #2

Observation Maze #2

Scroll Down
Observation Maze #2 Answer.

Observation Maze #2 Answer.

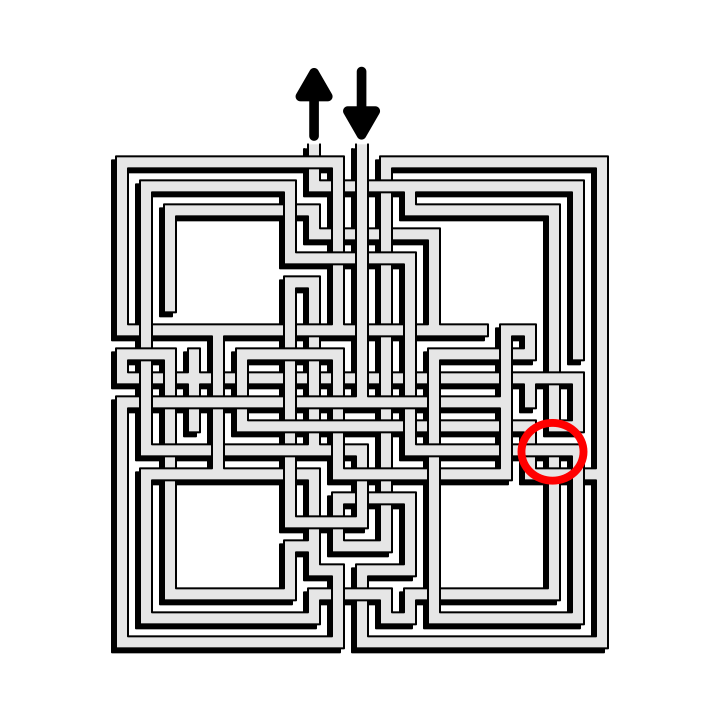
And now Maze #3. Can you find the design issue with this square wheel weaving maze ?

Observation Maze #3

Observation Maze #3

Scroll Down
Observation Maze #3 Answer.

Observation Maze #3 Answer.

Another path to nowhere…I found that one quickly. maybe because it was in a corner.

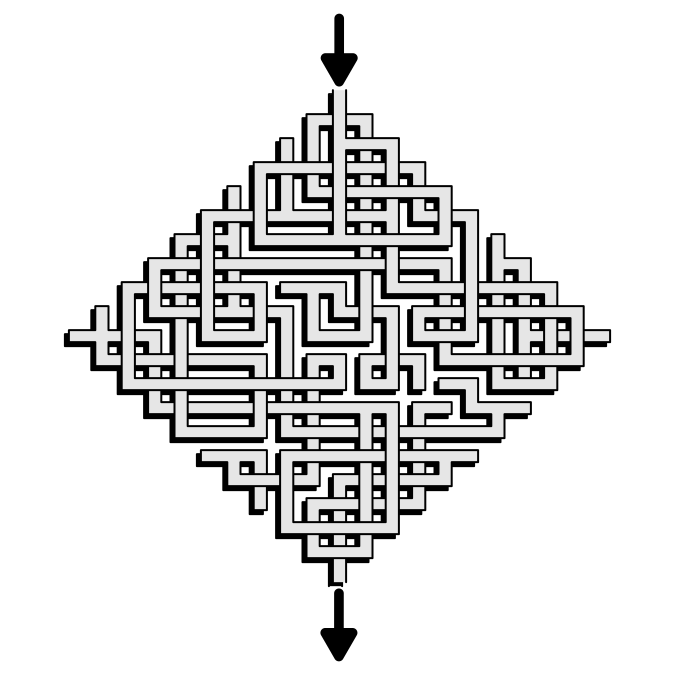
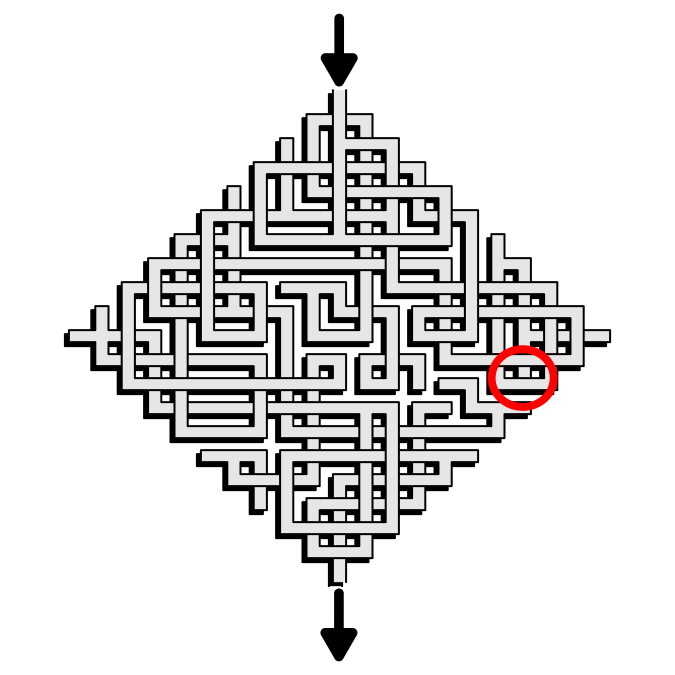
Maze #4 is a version of my favorite shape, just with a different start/goal configuration than normal. Can you find the error ? You know what to do.

Observation Maze #4

Observation Maze #4

Scroll Down
Observation Maze #4 Answer.

Observation Maze #4 Answer.

That was a tough one for me. I know the purpose of this post is to test your observation skills, but I just want to mention that this type of maze is really fun to solve (and design IMO). I made a poster size (11x17) weaving maze of a skull that people seem to like. I have a book of these on Amazon also. Try to solve a few of these - just don’t dead end at my mistakes !!

Back to the observation game. How about this fun shape?

Observation Maze #5

Observation Maze #5

Scroll Down
Observation Maze #5 Answer

Observation Maze #5 Answer

I wish we were done, but I made a lot of mistakes, I’m just glad I caught them and could make them into something interesting (assuming so if you are still here!)

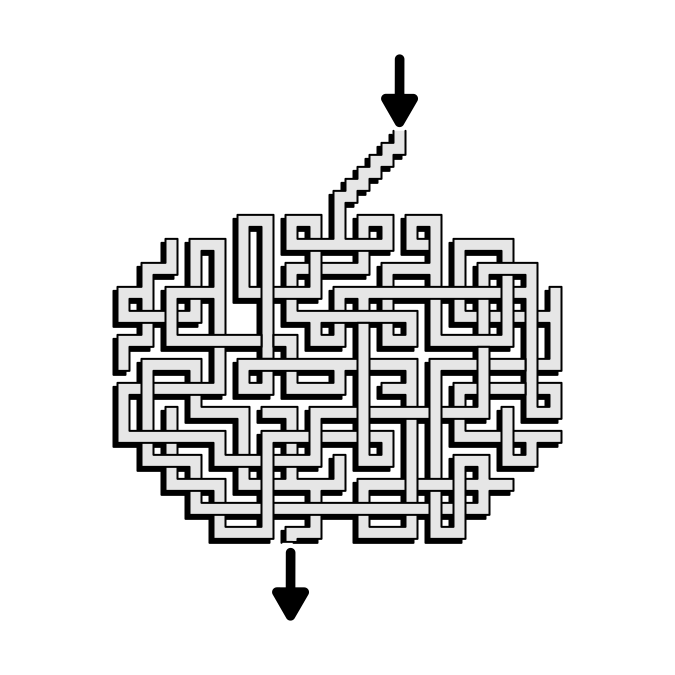
Let’s try this one, an apple weaving maze

Observation Maze #6

Observation Maze #6

Scroll Down
Observation Maze #6 Answer

Observation Maze #6 Answer

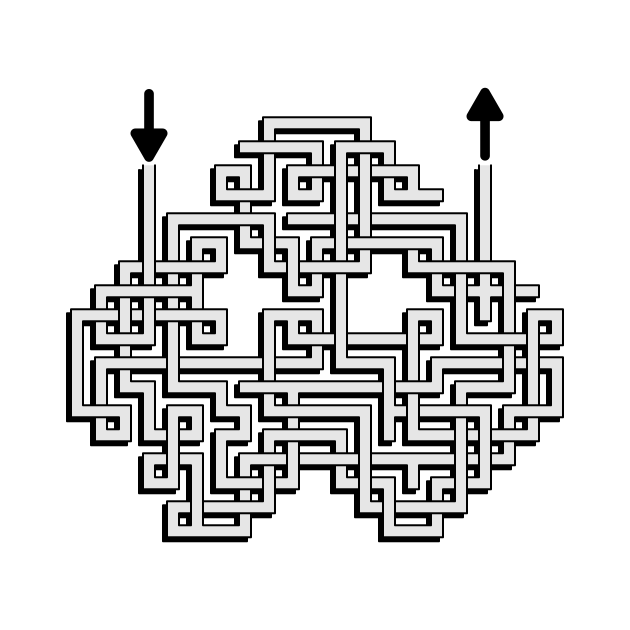
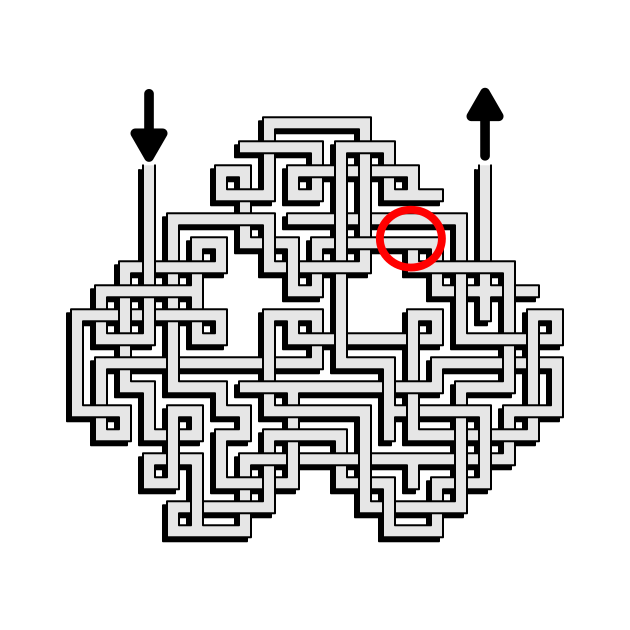
Still more unfortunately.. Try this cloudlike shape. I am not sure what made me design a maze in this shape or maybe more accurately non-shape, but here we are.

Observation Maze #7

Observation Maze #7

Scroll Down
Observation Maze #7 Answer

Observation Maze #7 Answer

And that does it. My mistakes became a game. I’d like to say this is the last time we do this, but I know it is not ! How did you do ? Would you be interested in more content like this ?

Can You Find the Maze Design Mistake ?

One of my favorite types of mazes to make is the Weaving Maze. I think the construction helps make relatively small mazes much more complicated to solve. It is certainly difficult to “eye solve” a weaving maze by quickly eliminating possible paths that have a dead end near the intersection you are at. But, it also presents some challenges for the maze maker and that’s what we talk about today.

When I wrote my How To Make A Maze blog post to show how I make a Weaving Maze, it became the only maze that got a second post with a revised, improved option. I was making so many of them (enough for multiple books on Amazon) that I came up with a new way to create them with a more consistent look. What I still have trouble with is breaking a key rule when creating the maze, and that is missing a path and letting it dead end under another path. How does it happen ? Well, during the construction there are many balls in the air (possible paths) so to speak. To make the paths weave there need to be multiple paths to cross over. Creating the maze can look a bit like chaos and mistakes get made. I have let multiple slip through the cracks during editing. Let’s see if you can find the mistakes and test your observation skills !

Here are the 2 main types of mistakes I made:

Examples of maze mistakes

Examples of mistakes you might find.

Let’s get started with our first maze. When you are ready, scroll down to get the answer !

Observation Maze #1

Observation Maze #1

Scroll Down
Observation Maze #1 Answer.

Observation Maze #1 Answer.

I left a path under another and didn’t end it properly. Let’s try your luck another with this clover maze.

Observation Maze #2

Observation Maze #2

Scroll Down
Observation Maze #2 Answer.

Observation Maze #2 Answer.

Same mistake, new spot. Can you be money and solve the next one ?

Observation Maze #3

Observation Maze #3

Scroll Down
Observation Maze #3 Answer.

Observation Maze #3 Answer.

Another path to nowhere…How this next one ?

Observation Maze #4

Observation Maze #4

Scroll Down
Observation Maze #4 Answer.

Observation Maze #4 Answer.

Did you find the mistake hidden in the clouds ?

Observation Maze #5

Observation Maze #5

Scroll Down
Observation Maze #5 Answer

Observation Maze #5 Answer

Did you reach home plate and find that one ? Did you find the almost mistake in the upper middle right ? The path only slightly comes out the other side. Let’s try a Spade Maze.

Observation Maze #6

Observation Maze #6

Scroll Down
Observation Maze #6 Answer

Observation Maze #6 Answer

A dreaded double mistake ! I was looking to link those up I bet…probably ? How about this stop sign ?

Observation Maze #7

Observation Maze #7

Scroll Down
Observation Maze #7 Answer

Observation Maze #7 Answer

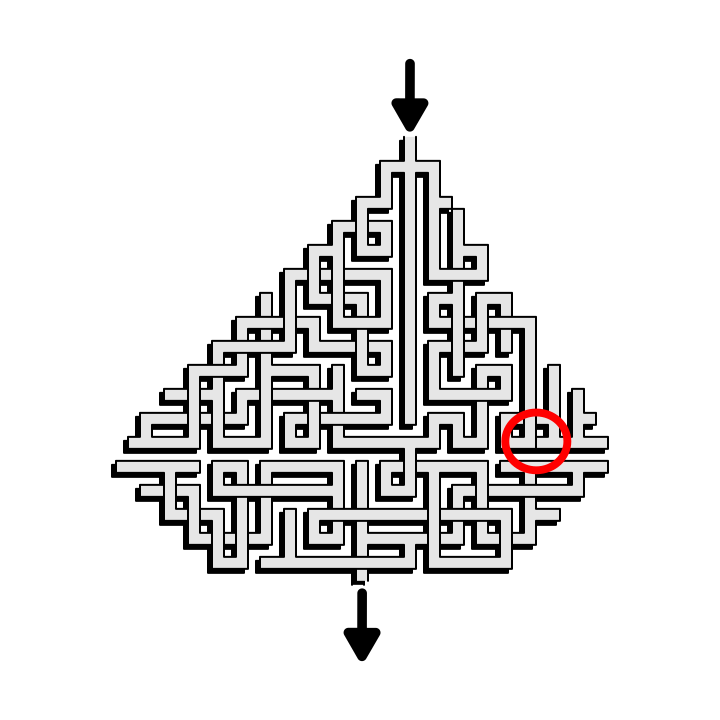
How are you doing ? Eyes getting buggy ? Last one is the sailboat.

Observation Maze #8

Observation Maze #8

Scroll Down
Observation Maze #8 Answer

Observation Maze #8 Answer

And that does it. My mistakes became a game. I’d like to say this is the last time we do this, but I know it is not !